The process of installing an led mesh display- appears challenging at first glance. However, a little guide can make the installation workable. The successful installation of a dynamic led mesh screen outdoor or a mesh led wall at events requires planning. This guide presents the process from preparation to completion.
Preparing for the Installation
Inspect the installation area thoroughly before any hole drilling or cable connecting takes place. The LED mesh screen requires placement either against building structures or free-standing in opened areas or attached to curved surfaces. The placement type decides what structural requirements must be met. The -flexible mesh screen- fits various shapes but needs a solid framework to work effectively.
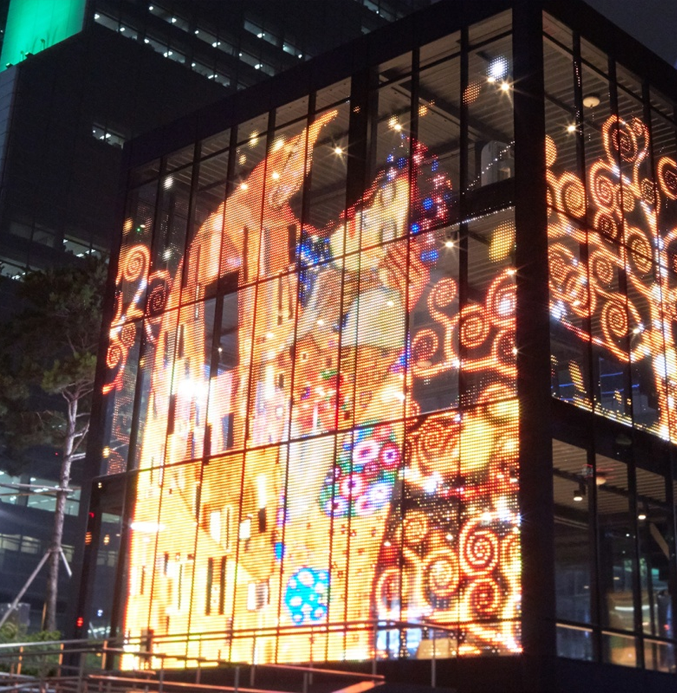
Another critical factor is visibility. A proper placement will give unobstructed visibility while avoiding any disturbance caused by external light sources. When using a transparent LED mesh on glass facades, you need to assess how natural light will impact clarity of the view at various times throughout the day.
Make sure there is a reliable electricity supply available. Installation of massive LED video mesh systems depends on dependable electrical access, but steady power conditions protect them from breakdowns. In open installations protect wires from moisture and dirt exposure by using waterproof connectors inside weatherproof enclosures.
After assessing the site, measure the positioning area for the upcoming LED mesh wall. Use either a laser distance meter or a tape measure to mark precise alignment points for the mounting system. The quality of display images will suffer from improper mounting because installation surfaces that are not even can introduce distortions.
- Check load capacity: Verify that the mounting surface has sufficient strength to manage the weight of the mesh LED display. Consult an engineer if needed.
- Plan for ventilation: LED displays need enough ventilation since their heat production needs proper airflow for heat dissipation.
- Secure permits: Public installations need secure permits to prevent legal problems from arising.
Now that preparation is finished you need to collect your necessary work tools.
Required Tools and Equipment for Installation
Getting the right tools is critical for the successful setup of a flexible LED mesh display. Begin with essential mounting hardware consisting of brackets and support frames because they both offer stability and ensure the display remains secure throughout its lifetime. Specialized adjustable brackets specifically designed for curved surfaces should be used when mounting the installation.
Reliable power tools, including wrenches, screwdrivers and drills, enable effective fastening of the display onto its mounting structure. The correct alignment depends heavily on utilizing leveling tools that include laser levels or spirit levels. The LED mesh curtain appears different to observers at a distance because even small tilts in its installation will affect their visual perception.
The essential safety items for electrical connections include insulated gloves and voltage testers that need protection from voltage surges through secure wiring harnesses. Power cables that are inappropriate for the application might disrupt signals while simultaneously harming the LED net screen.
The installation needs a backup power supply as a protective measure against disruptive outages to ensure continuous operation. Now that the location setup is complete and the necessary tools prepared, you can start with the installation.
Step-by-Step Process Guide
A -LED mesh display- installation needs both precise execution along with patience and accuracy throughout the entire process. Any setup of a LED mesh screen outdoor digital billboard or flexible LED mesh in a curved architectural facade follows these general steps:
Building a Stable Support Structure
Every -mesh LED display- functions best on a solid groundwork structure. A strong base foundation needs to support the panels to ensure their ability to withstand wind force along with vibration and persistent use. Mounting an LED mesh curtain on glass walls requires reinforced aluminum frames as the support structure. The optimal choice for attaching an LED mesh wall to concrete structures are combination anchors and expansion bolts.
Your LED net screen will display visible seams if the structure contains any misalignment. A digital inclinometer helps professional installers to verify proper frame alignment for both vertical and horizontal setup. Even a deviation as small as 0.5° can introduce noticeable errors into image presentation.
Measure the wind load requirements before starting any outdoor installation. Proper wind resistance is essential for the installation of a transparent LED mesh on a skyscraper. Panels with perforations installed above 50 feet minimize wind drag but maintain excellent visibility.
The IP rating of your screen should always be verified before purchase since outdoor -LED video mesh- units require an IP65 waterproof certification, but indoor displays can operate with IP43 standards.
Securing and Connecting LED Mesh Panels
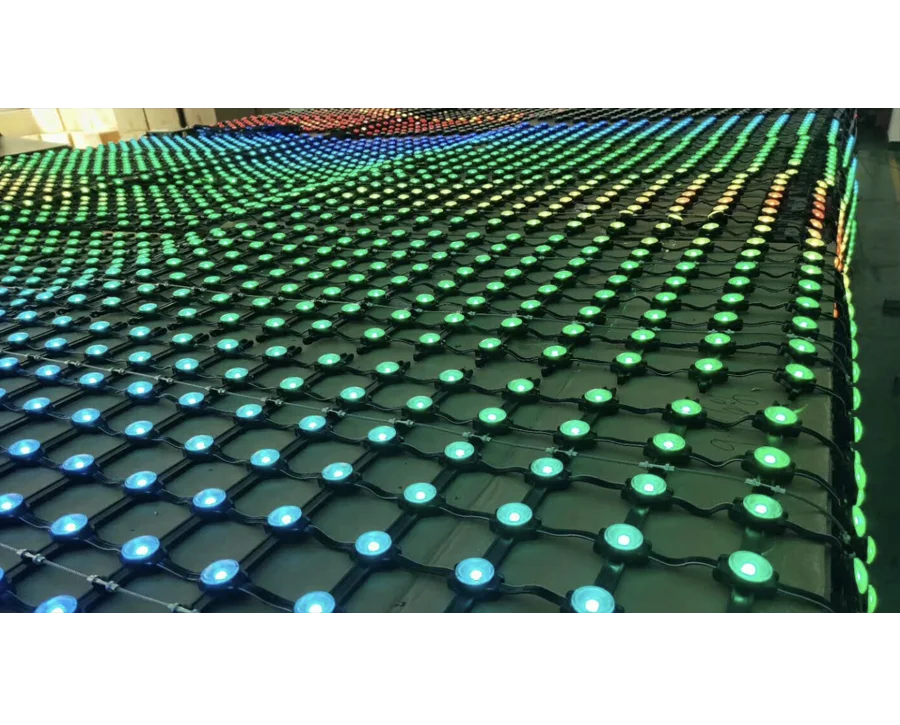
The process of attaching physical display panels demands strict precision criteria. Commercial mesh screens built for curved surfaces require professional brackets, which keep the LEDs free from strain during attachment. Every standard LED mesh screen panel needs installation through locking connectors for continuous visual flow.
The border between each display panel must show flawless alignment. Industry professionals achieve a uniform appearance using laser guides to stop gaps from forming unevenly. A slight 2mm error can create gaps between pixels that disrupt image smoothness. The pixel pitch in most LED mesh video walls ranges from 3mm to 16mm, making any small alignment error obvious to viewers.
The installation process continues with the connection of data and power cables to the system. Here’s where mistakes happen.
- The cables used for outdoor installations need to have protective shielding to stop interference from occurring.
- The voltage at the end of cables longer than 50 feet may drop enough to cause panels to dim or flicker if they are operating at less than 5V.
- Waterproof connectors should be used for -outdoor LED mesh- projects to avoid short circuits along with silicone-seaLED junctions..
Software Configuration and Display Calibration
The software setup follows after hardware installation finishes. The software configuration process activates the display for operation.
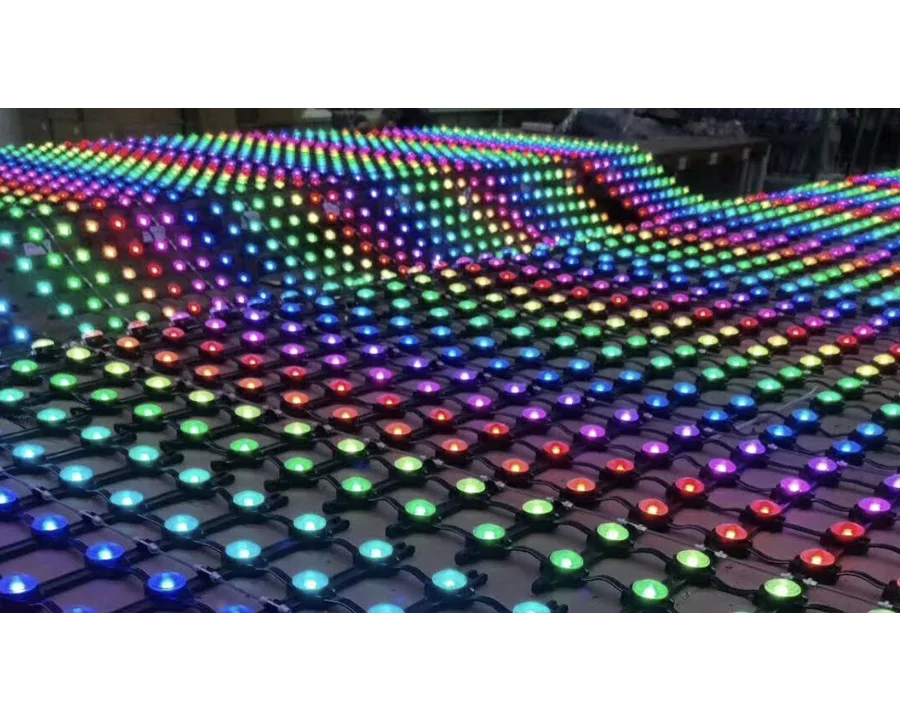
Control software in most LED mesh screens enables brightness control and schedule content and pixel mapping tasks. The refresh rate of an LED matrix display should exceed 3,840Hz to avoid camera-recorded flickering when you install the display in a stadium.
Color calibration is crucial. Advertising with mesh LED walls requires sharp saturated colors however improper settings might create color damage. High-end displays automatically adapt their brightness levels using built-in sensors that detect ambient light conditions. Manual modification may become necessary when using an LED mesh curtain inside to avoid strong glare.
Testing is the final step. An all-white display assessment helps identify abnormal screen pixels and the grayscale color test verifies even illumination across the mesh LED surface. Real-time content feed users should check for system delays. A <10ms delay will not disrupt static ads; greater values can cause severe performance issues when showing live concerts.

Maintenance and Care Tips after Installation
Maintaining your LED mesh screen requires more than installation because you must ensure its optimal performance remains constant. Detailed maintenance routines can increase the typical operational time of 50,000 hours well past 100,000 hours.
Routine Cleaning and Inspection
The screen performance deteriorates when dust, moisture and pollution enter into contact with the display. Excessive pollution in urban areas leads to higher frequencies of cleaning for outdoor displays. Wipe the LED surface using an alcohol (90% isopropyl) solution with a non-damaging microfiber cloth.
Electrical connections require dry cleaning with no water-based methods since IP65-rated LED mesh lights have this specification.
High-rise facility maintenance remains challenging because of technical limitations. Drone inspections help companies check loose connections, and certain companies implement front-access modular panels to avoid complete panel disassembly.
Preventing Common Issues
- Pixel failure: Replacing the entire panel becomes necessary when a cluster of pixels loses its functionality. Extra modules must always be stored in reserve.
- Color inconsistencies: A LED mesh screen can unexpectedly display dull areas within a single section. Digital aging of LEDs and unstable power supply are the reasons for these issues. Display calibration tools will help restore even brightness across the screen.
- Water damage: The waterproof protection of flexible LED mesh screens does not completely stop condensation from forming inside their structures. Placing silica gel packets within the control unit helps to prevent damage from moisture.
Software and Content Management
The effectiveness of an LED mesh screen depends entirely on the quality of its displayed content. Regular software updates play an important role for maintaining performance while they resolve operational bugs. Any display operating continuously 24/7 should have its memory protected through a scheduLED reboot protocol set to activate every 48 hours to avoid memory overload issues.
The rate at which content updates in your solution affect overall performance Screen display of static elements should not exceed 24 hours to prevent burn-in damage that affects older LED models.
A device performs optimally when running animated elements, while screen animation beyond the right level leads to a higher power draw. A vibrant visual mix of static and dynamic elements preserves screen life but maintains viewer attention.
Conclusion
The beginning of a successful setup depends heavily on the correct selection of location. Find your sweet spot and follow this guide to install your mesh display. Your mesh LED screen will both look great and work efficiently throughout many years with a well-designed installation approach.

Enter the digital world with our advanced display technologies.