Clear led display tech is transforming digital signage, thanks to their contemporary transparent designs and their powerful display of dynamic visuals. However, clear LED screen installations need attention to detail and the installation tools. In this guide, we provide step-by-step instructions to achieve an error-free installation process.
What is a Clear LED Display?
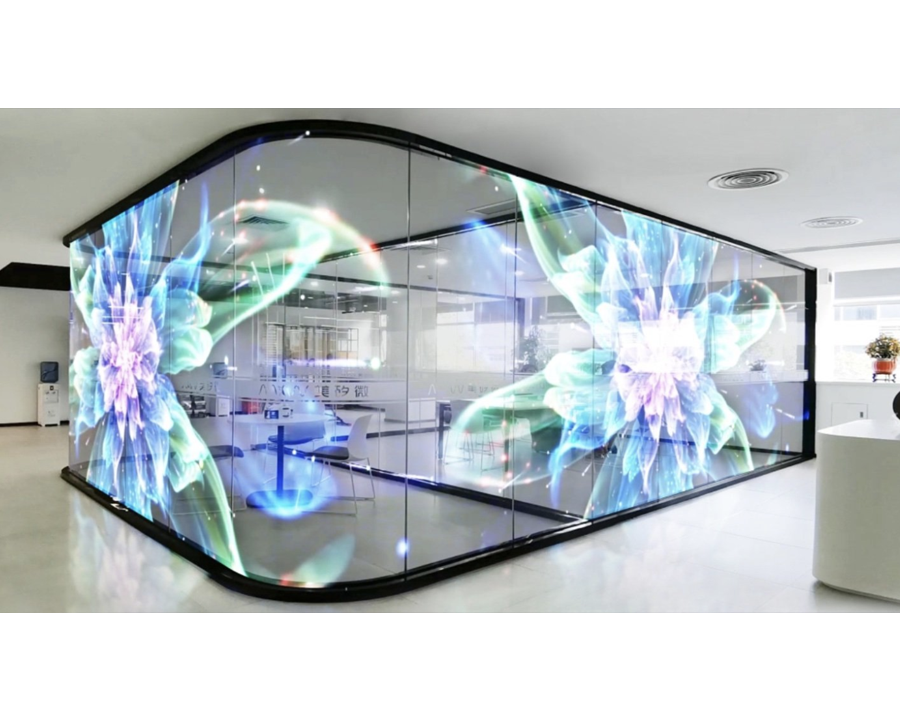
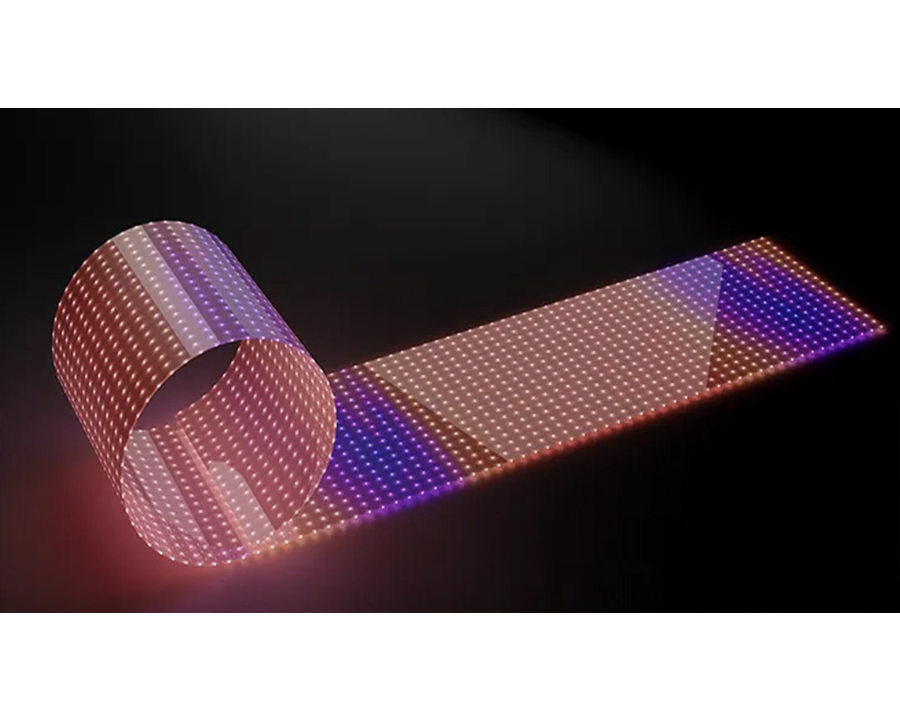
A clear LED display is an advanced screen technology that combines brightness with transparency for display of vivid digital content. These displays incorporate transparent material and embedded ultra-thin LED strips instead of the traditional LED panel solid walls. These display can maintains up to 85% transparency to let outside illumination reach through but shows the display content clearly.
The modern energy-efficient design and contemporary aesthetic of transparent LED display screens have led the retail industry and architecture sector and event production sector to immediately adopt this technology. The standard transparent LED panel operates with pixel pitches between 2mm to 10mm while reaching maximum brightness levels of 5000 nits that enable its use indoors or outdoors.
Preparation for Installation
Evaluating the Installation Site
The first step is to evaluate the location for the transparent LED wall before beginning unboxing components. The placement evaluation ensures both the display’s support system and its optimal viewing angle as well as the access to wiring and power supply.
Retail stores require screens mounted on glass panels through self-adhesive frames and custom aluminum brackets for installation. Larger architectural displays require supplemental support systems which distribute the weight through multiple points. When installing displays outdoors one must assess effects from sunlight along with wind and water resistance needs.
A thorough check of the following points will help prevent future technical problems.
- The display weight requires assessment of the strength capabilities between wall surfaces and glass surfaces.
- Brightness adjustments must be considered due to sunlight exposure.
- Cables need proper organization for power supply and data transmission by determining their route through space.
- The system must have sufficient ventilation for proper heat dissipation.
Gathering the Necessary Tools and Equipment
The complete setup of professional-grade equipment demands particular tools to realize correct wall-mounting and protect cables while maintaining operational safety. The basic tools needed include:
- Glass installation requires strong double-sided adhesive or transparent acrylic clamps as mounting equipment. Wall and ceiling installations require aluminum brackets to work with support beams.
- A power supply unit (PSU) with stable DC 5V or 12V voltage operates the display as its main electrical component. The video signal processing requires signal controllers along with receiving cards such as NovaStar or Colorlight.
- Wearing safe gloves with static protection materials becomes crucial during LED component handling to protect equipment from damage. High placements of screens require employees to utilize both a safety harness along with a helmet.
- The multimeter for electrical connection verification and calibration software for uniform brightness and color achieve testing and calibration goals.
Step-by-Step Installation Process
The installation process of a clear LED display determines how well it functions along with serving as a guarantee for extended lifespan and operational safety. Precision defines the execution of each installation process beginning with display assembly and ending with visual calibration.
Any minor mistakes in panel alignment or cable installation can result in images with distortion together with overheating and electrical malfunctions. The following complete guide presents the correct installation procedure for transparent LED screens.
Assembling and Mounting the Display
Unpacking and Inspection
Check for shipping damages in each -transparent LED panel- while unpacking them carefully. Since these displays are fragile any breaks or loose wires endanger their operational capabilities. Findings of any damage require immediate intervention to contact the supplier as you need a replacement.
Mounting Methods
The mounting process depends on the installation surface:
- The mounting techniques depend on the installation surface type.
- Double-sided adhesive or acrylic clamps must be used for glass storefront mounting. Complete cleanliness of the surface area guarantees a proper bond between the screen and mounting surface.
- Big transparent LED display screens exceeding 3 meters in length need a supporting aluminum frame which should ensure their stability and prevent visual warping. The frame accepts panel attachment through screws together with mounting brackets.
- A ceiling suspension system needs steel cables attached to reinforced suspension points to distribute screen weight regularly.
Connecting Power and Data Cables
Power Requirements
The power supply requirements for standard transparent LED walls depend on the model selection between 5V and 12V DC voltage. The correct power supply unit must be selected according to display voltage needs to avoid power system damage. The power rating of the display needs verification before attempting to plug it in.
An additional power distribution unit centrally manages all the panel connections to maintain balanced power flow. Electrical surges can be avoided when multiple panels are installed only when power loads are balanced.
Premium copper wires should be used for preventing voltage drops between extended cable links. Every electrical connection needs proper grounding to stop short circuits and electrical safety threats.
Signal and Data Transmission
The operation of clear LED displays depends on the correct functioning of their corresponding data control system. The majority of contemporary transparent LED glass displays send video signals through controllers.
Data connection steps:
- Embed the sending card installed on the media player to connect with the receiving card installed on the LED panel.
- High-speed data transmission can be achieved by using CAT6 together with fiber optic cables. Fiber optic cables should be used for extending data transmission over long distances.
- You should install control software on your media player in order to adjust screen resolution while managing the brightness and refresh rate.
A test run should take place once power and data connections are established before making the final secure connections.

Troubleshooting During Installation
Technical installation problems might occur despite preceding preparation. These are the basic issues together with their corresponding solutions:
Display Not Powering On
- A display refuses to turn on because loose wiring or incorrect connection of power supply cables exists.
- The power source needs testing through a multimeter to ensure the panels receive the right voltage.
- Examine both fuses and circuit breakers because their blown state or tripped condition signifies possible electrical overloads.
Image Distortion or Flickering
- Missing pixels along with screen flickering happen when data cables are not properly connected to their positions.
- The refresh rate for most transparent LED monitors should be at least 1920Hz or higher for preventing flickering.
- To determine the cause of problems with individual panels the user should substitute defective components with operational replacements for diagnostic purposes.
Uneven Brightness or Color Calibration Issues
- The brightness level settings require adjustment through the NovaLCT or Colorlight software.
- A defective LED strip within the panel will produce dim luminous areas.
- The distribution of power should remain consistent because uneven voltage produces brightness variations between panels.
- The resolution of these standard installation problems will stop display malfunctions and system outages post-deployment.
Safety Measures During Installation
5.1 Handling the Display
Clear LED displays are fragile. Always wear anti-static gloves when handling panels because ESD (electrostatic discharge) will damage internal circuits.
5.2 Electrical Safety
- Disable all power from the main power supply before beginning connection work.
- Insulated tools should be used to prevent accidental short circuits to protect the equipment.
- All wiring must be fastened tightly in a manner that prevents exposure to view.
5.3 Securing the Installation
After installation the display requires proper reinforcement to endure the effects of wind for outdoor usage or vibrations that appear in ceiling applications. The additional stability comes from reinforced brackets together with safety cables.
Cost of Installing a Clear LED Display
The installation price of a transparent LED screen depends on its size as well as its complexity level and physical location. Below is a general breakdown:
| Expense | Estimated Cost (USD) |
| Transparent LED panels | $300 – $1,500 per sqm |
| Mounting brackets & frame | $200 – $1,000 |
| Power supply & wiring | $100 – $500 |
| Control system & software | $500 – $3,000 |
| Professional installation | $2,000 – $10,000 |
Conclusion
A properly set transparent LED board enhances visibility and branding and customer engagement by integrating smoothly with its environment. The guide leads to a flawless installation by first evaluating your site then using proper equipment for connecting power while fixing common problems and ensuring safety throughout installation processes.

Enter the digital world with our advanced display technologies.