If you’re thinking about getting a LED screen display, this task is one that can definitely be fulfilling and add that unique element to your area. This guide will be your companion in the process of installing a transparent LED panel starting from unpacking up to installation.
What Is A Transparent Led Screen Display?
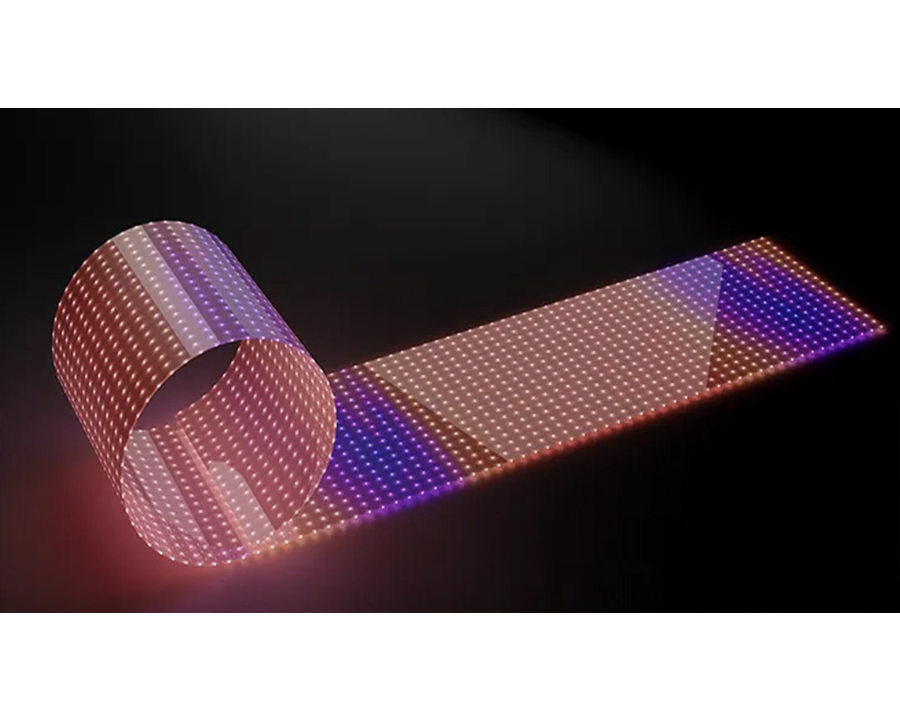
Transparent LED screen display is a modern technology that applies some characteristics of a regular LED transparent display and the possibility to see through it. This means that you can post bright digital images and videos, and still, be seen through the screen. The technology employs small chips of LEDs that are placed in a matrix of a clear substance. These screens are bright and of high definition allowing their use in both indoor and outdoor environments.
Tools And Equipment Needed For Installation
It’s crucial to have a set of screwdrivers to fix the translucent LED screen on its stand brackets. Always ensure that you have the flat head screwdriver and the Phillips screwdriver since various screws may be used.
- Measuring Tape
The position of the screen will require you to take measurements using a measuring tape. This way one is assured that the screen is well placed and well aligned to the body of the vehicle.
Cables are required to light the screen and connect them to a power source. Make sure that the cables are appropriate to the power of the screen.
These brackets will help to fix the LED display transparent on the wall or any other object. Select brackets that can bear the load and dimension of the display.
Cable ties make it easier to manage the wires in a way that they do not form a tangled mass. They can be used to tie cables together so as to look good when installing them in a certain area.
- Calibration Software
There is a need to use particular software to make changes in the levels of brightness, contrast, and color. This software will make sure that the display runs at optimum as intended.
- Leveling Tools
Other levelling tools that come in handy include a bubble level that will assist you level the transparent LED display and mount it correctly.
A drill will be needed to make holes to screw the brackets in place. Remember to select a proper diameter of the drill bit for the screws that you want to use for your job.
Step By Step Installation Process
- First, it is necessary to attentively unfasten the LED transparent screen from its wrapping. Check the screen for any sign of shipping damage when the product arrives. Ensure that the LED transparent screen is placed on a flat surface and on a soft surface so that it does not get damaged. Check that you have received all the parts of the product like the screen, brackets, wires, and CDs and manuals where applicable.
- Choose the area you wish to put the transparent LED on. Determine the height and width of the area in which the screen is to be installed. He or she should mark the placement points on the wall or surface on which it will position the brackets. Make sure there are no barriers around.
- Mount the mounting brackets to the wall or the surface using the right screws for this purpose. Drill other holes where the screws would be fitted. Ensure that the brackets are correctly aligned and firmly screwed. It is very important to use a measuring tape in order to correctly space the brackets and make sure they are parallel.
- After the brackets have been put in place, take much care to place the LED screen transparent on the mounting brackets. Make sure that the screen is correctly placed and is in harmony with the markers placed on the wall. Slide the screen into the brackets and then fix it using the screws that are provided. Adjust it until the arrow is pointing upwards and align it again before you fully tighten the screws.
- According to the model, you may require plugging the power supply on a normal socket or on a dedicated power supply source. Make sure the cables are well connected and not loose. If the screen has to be connected with an external power unit, put it where it won’t be in danger but will be easily reachable.
- Most transparent LED display screen have data cables through which contents to be displayed are supplied. These cables link the screen to a media player or a computer. Gently connect the data cable from the screen to the output ports in the media player. Just make sure the connections are tight and secure so that you do not get problems later on.
- Install necessary software for screen configuration. This software can be purchased with the screen or can be obtained from the manufacturer’s website. Read the following steps to have the program installed on your computer or media player. The software will help to calibrate the settings of the display.
- The next step is to adjust the display and this requires that the screen be connected to power source and data source. Other settings of the display can be adjusted with the help of the calibration software regarding brightness, color balance and others. After that, perform the test run of the sample content to check whether everything is in order. You may adjust the settings for the best performance if it is necessary.
- Following the calibration process, ensure that the screen is positioned and well-aligned. Ensure that the display is well fixed and all cables are well hidden or properly arranged in the LED panel transparent. Clean the installation area, for example, remove all the used packing materials, wires, etc.


Common Challenges During Installation
- Wiring Complexities
There are a number of problems associated with the construction of the CCEM, however the most frequently encountered one is handling of the wires. For instance when dealing with power and data cables it may reach a point where it is hard to manage all the cables properly.
- Alignment Issues
It is also important to align well because it can be a little tricky to make the screen look perfect once mounted. Incongruity may be observed if the brackets are not horizontal or if the screen is not set up properly.
At times, you may experience compatibility problems with the software or the media player being used. Ensure that the type of software you are using conforms to the specifications of your screen.
- Electrical and Communication Problems
If the screen was non responsive or blank, then check the connections. Make sure that the power and data cables are well connected. At other times, such problems can be attributed to a loose cable.
Conclusion
A transparent LED screen display is not easy to install and needs to be planned properly and each aspect has to be looked at. It is possible to have a perfect installation that will make your space more beautiful through the use of these screens.

Enter the digital world with our advanced display technologies.