Steps to Install and Setup of LED Video Wall Controllers
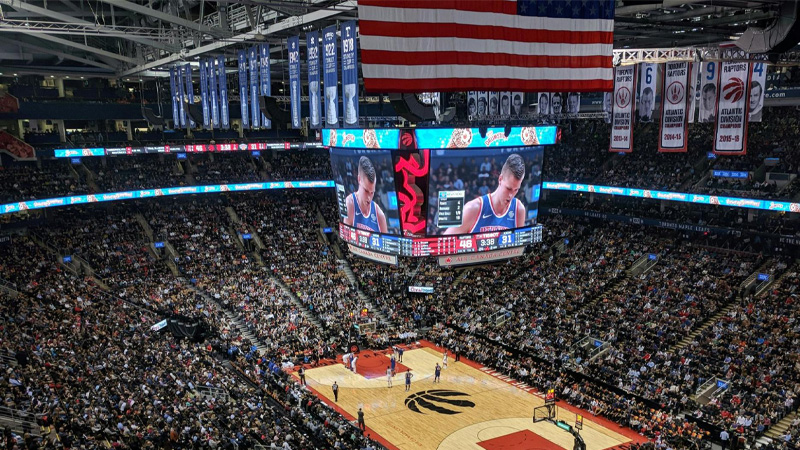
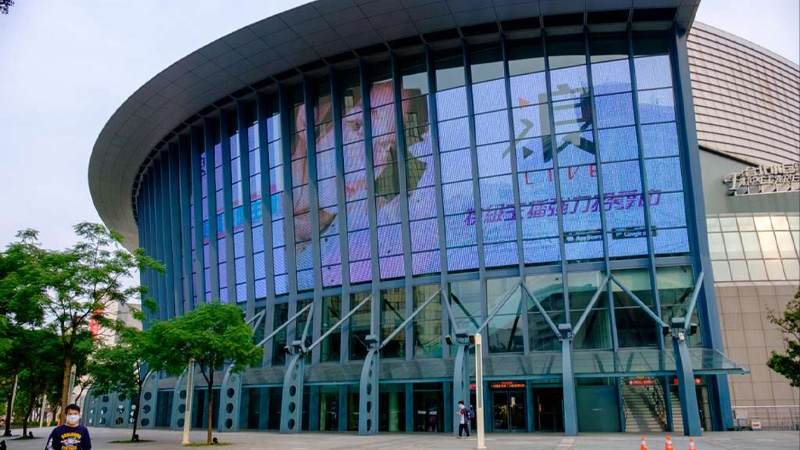
Recently, our visits to shopping malls, offices, or even a leisure walk to city center streets have become much more interactive and fun. Do you know the reason why? LED video walls!
The LED video walls are collections of LED screens, syncing together to create a giant screen for displaying ads or any other media content. How do these LED video walls work? You need to input data using the signals via a computer or any other device. These signals will then be translated into a bright visual displayed on the screens.
Operating an LED video wall might seem easier at first, but the truth is it cannot be pulled off without the knowledge of little intricacies. That is why, this blog will let you in about the itsy-bitsy details of installing and setting up of LED video wall controllers.
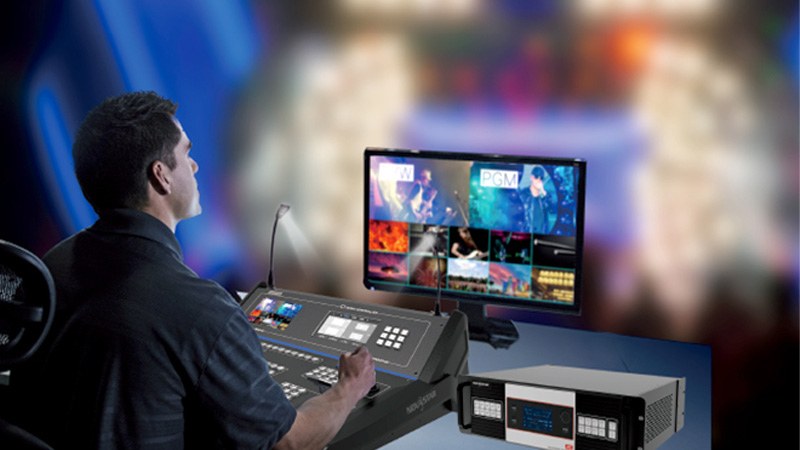
Everything that you see on a LED wall, whether in your office or a shopping mall, is transmitted and processed by an LED display controller. The controller gives you the ability to shift the color, size, shape of your content. In short you can tame it according to your preference
Now, let’s look at the behind-the-scenes of LED Video walls. If you walk close to these walls, you will immediately start to make out the multiple little scenes joined together. These screens are wired together to an LED control system, s o they can sync accordingly. This helps in resulting in a consistent display. This practice also applies to other modes of digital public systems like LCD screens or projectors.
-
The LED Display
A display system of an LED wall is made of different components. These components work together to create the finished product that you see on your screens. The main component of an LED wall is the unit board which is connected to the display system of LEDs. Let’s take a brief look into it,
● LED Unit Board
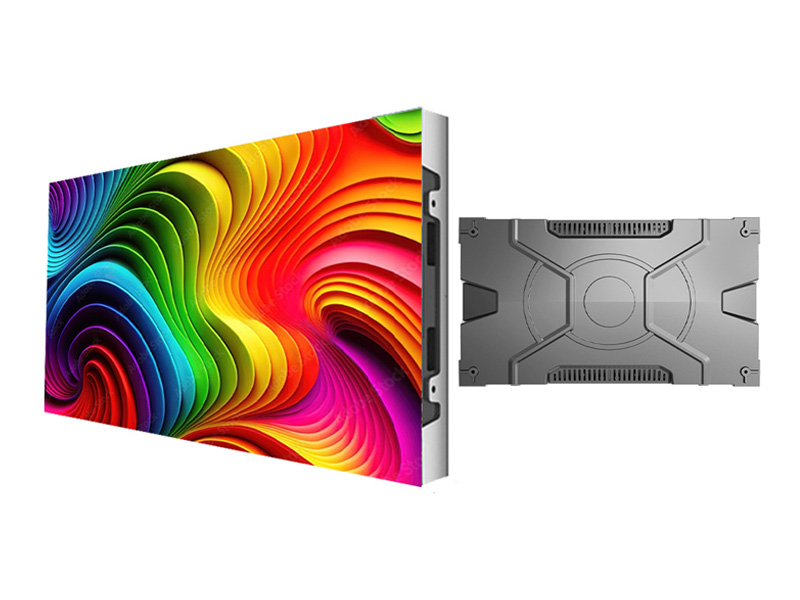
This is a significant component that is mainly responsible for the content you see on the screen. It consists of a circuit board, microprocessor, and LED frames. The greatest benefit of an LED unit board is its ability to captivate your customer’s attention, almost instantly.
● Connectors
An LED video display is connected to the unit by many wires and cables. The main purpose of these wires and cables is to supply power to the system.
● Main power source
With the help of this component the LED wall controller ensures there is a consistent power supply and prevents it from shutting down. The display system and screens are all connected and work dependently. Thus, if one of the components loses power, the screen turns off.
-
What are the Control Systems of LED?
Just like the name, these components control the entire functions of an LED wall. They come in two kinds (synchronous and asynchronous control systems). The Synchronous control system is usually used for outdoor and indoor LED wall projects, as it performs tasks in real-time.
The asynchronous control system requires a transmitting card that acts as memory. This way, it is easy to function without being directly connected to the computer. But remember, the efficiency of it depends on the available storage of the memory card.
-
Control Board of an LED
A control board of an LED controls the brightness and visibility of your display screen. Its primary function is to send signals to the multiple LED screens connected. These attached screens then transmit the signals and produce the required display.
The way you install and set it up will impact the result and performance of the display. If there are flaws and missteps in this process, there will be lots of issues in the future performance of an LED display. Follow these steps and ace your LED display installation process.
-
Installation Methods
● The Cabinet Method:
This one is user and operator-friendly because it integrates display modules, supplies power, and more. It is considered operator-friendly because of how simple it is and does not require too much complexity. Thus, by arranging these cabinets systematically, the complete process can be made much simpler.
● The Frame Method:
This procedure is not user- and operator-friendly and requires people to install its important components. Unlike cabinet installation, this does not come assembled and requires a skilled set of hands and effort.
-
Take Accurate Measurements
First, start by calculating the size accurately. Then, once you get the measurements, calculate them and get the final size. Next, you will make the frame. The frames will consist of a large one and a small one.
Once you have both the frames, you can start welding the strips. The strips must fit the module. This is then welded to the small frame that you cut earlier.
-
Fix the Power Supply
We need to start connecting the cables carefully while keeping in mind the + and – poles. If not done correctly, the monitoring card may burn.
After we finish assembling the power supply, we can move on to installing the LED monitoring card. Next, how will you connect the cards with the modules? Note that these cards are already connected to the cables before the installation process. Now, you need to use screws to attach the card to the frame.
After it has been attached, these cards need to be connected in a sequence.
-
Install the LED Screen
During this process, we need to keep in mind the sequence, which is bottom to top and middle to both sides. This accuracy is necessary for the screen’s pixel resolution.
-
Setup
After all, four modules have been installed, you can now check if they are switching on. Once it does, you can continue the installation. This step is crucial because if you finish installing it and then face issues, everything will need to be reassembled from the start.
The LED control system needs to be optimized for many different reasons. They help make the process more efficient by improving quality and performance.
Know the resolution of your LED display. The higher the resolution, the better your screen graphics and clarity will be.
Utilize high-quality bulbs to take your LED display to another level. By getting your hands on quality bulbs, you can improve the visuals and durability of your LED display. Bulbs significantly improve the lighting within the LED display.
Investing in reflectors is a great way to ensure light is being distributed evenly throughout the LED display screen.
We can all agree this is not so simple and requires a good number of skills and knowledge. However, this blog and guide will help clear all your doubts related to the installation and set-up of LED walls.
-
Confirm The Size and Number of Screens
Knowing the size and number of screens is important when setting up your LED wall. Therefore, it is necessary to take your requirements and budget into consideration. You need to determine the distance of your screens, and you can do it by calculating the total pixel number. With this information, you will know the exact number of screens you require.
-
Pick Your Processor and Software
This is a crucial step as it can help you manage your display. As we know that the processor is like the brain of the LED video wall and receives signals and processes the output to form the right display. A reliable software by your side can help you make the right changes, like brightness layout, to your screen.
-
Install the display
Once you have successfully attached the frame, it’s time to install your display. Start by making sure that all the cables and connectors are attached securely. Once you power it on, you will see the screen being lit up. Congratulations! You have successfully installed it.
Power failure can occur despite installing and setting up everything perfectly. If you experience this, we have you covered. Follow these tips and tricks to kickstart your LED display again,
-
Scenario 1: No display screen
Here is what you can do,
● Check if the power supply to the system is normal.
● See if the cables are connected properly. If not, do so.
● Make sure the power supply is within the parameters
● Change the card
● Check your connection or replace the microprocessor
-
Scenario 2: The Screen Shows “Not Found”
Fix it by following these steps,
● First, confirm and then connect the cable.
● Replace the monitor
● Replace the cable
● Replace the card
● Update or install new software
-
Scenario 3: The Screen Lacks Color
You can bring the color back by,
● Reconnecting or changing the cable
● Checking which frame of your screen is faulty. Replace the faulty one.
-
Scenario 4: Some areas of the Screen are not displayed
Here is what you can do,
● Check and make sure the supply of power is normal.
● Try reconnecting the power.
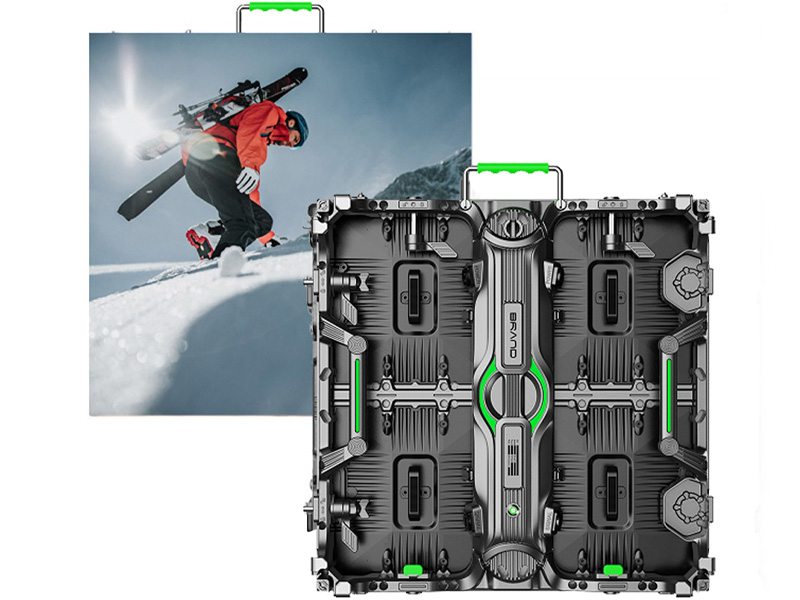
We have the most premium range of LEDS, specializing in a wide range of indoor, outdoor, and much more LEDs. Our RM960 – Series is from the outdoor category, and its specifications will amaze you.
It can automatically adjust its brightness depending on the lighting. This means you can peak visibility regardless of your surrounding conditions. The best part? It comes in both indoor and outdoor models, so you can choose one that suits your requirements best.
![]() Front-end Convenient Maintenance
Front-end Convenient Maintenance
![]() Cabinet Size: 600*337.5mm/16:9 Ratio
Cabinet Size: 600*337.5mm/16:9 Ratio
![]() Compatible with 300*168.75mm Module
Compatible with 300*168.75mm Module
![]() With 3 Years Warranty and 5% Spare Parts
With 3 Years Warranty and 5% Spare Parts
![]() Front Convenient Maintenance
Front Convenient Maintenance
![]() Hard Connection, No Need Cables
Hard Connection, No Need Cables
![]() Can Removable Back Power Supply Box
Can Removable Back Power Supply Box
![]() With 3 Years Warranty and 5% Spare Parts
With 3 Years Warranty and 5% Spare Parts
7. Bottom Line
Now that you are at the end of the blog, we hope that you are all equipped with the information you need to seamlessly install and set an LED video wall controller.
After all, proper installment of an LED wall controller can guarantee that they last optimally and function efficiently. But most importantly, make sure to buy the best high-quality LED video wall controller. If you are looking to buy LEDs, visit our website LEDSINO because we are selling out fast.
Contact
 Building D, Hongfa Science Park,
2035 Songbai Road, Shiyan, Bao’an District, Shenzhen, Guangdong, China.

